
Emergency Roof Repair Tips: What to Do After a Storm
Emergency Roof Repair Tips
What to Do After a Storm
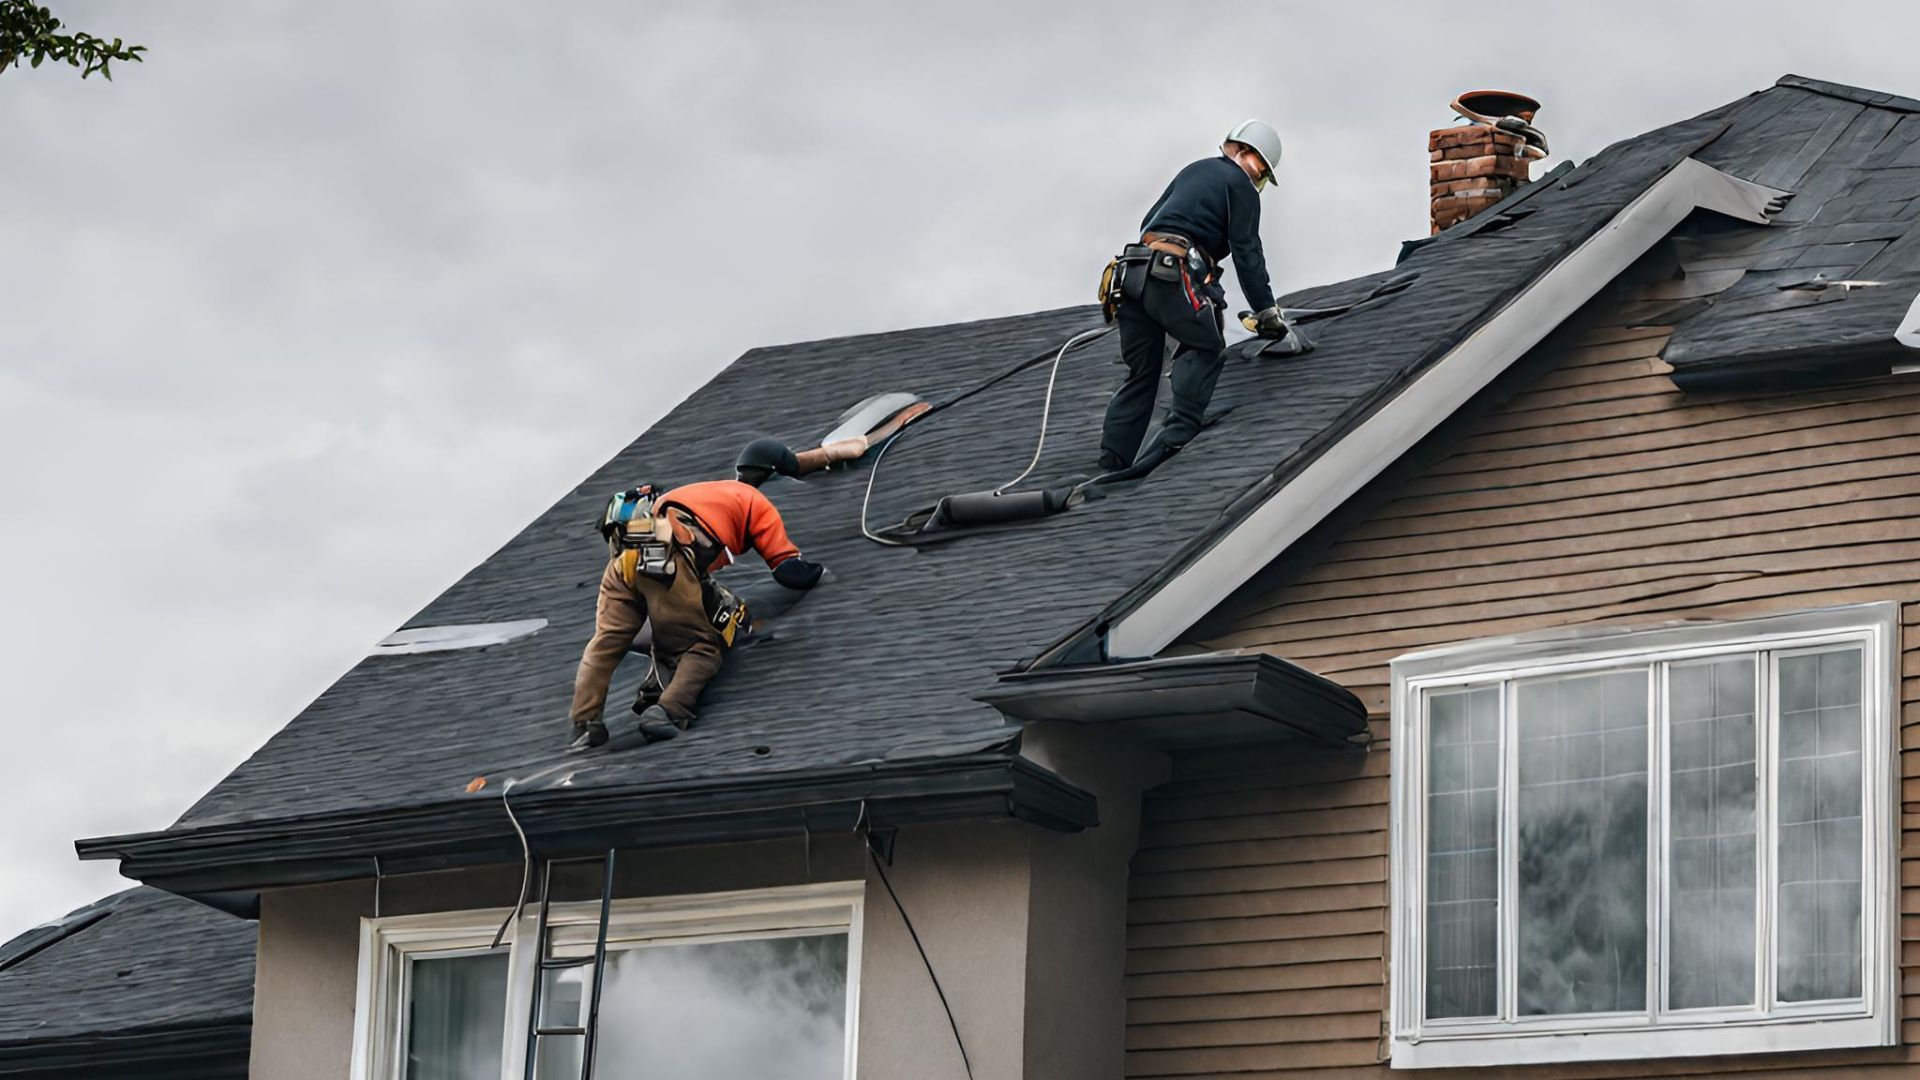
Storms can wreak havoc on your home, particularly on your roof, which bears the brunt of heavy rains, high winds, and flying debris. Knowing what steps to take immediately after a storm can mitigate further damage, reduce repair costs, and ensure your home remains safe and secure. Here are essential emergency roof repair tips to follow after a storm has passed.
1. Ensure Safety First
Before inspecting any damage, ensure it’s safe to do so. Avoid going outside during the storm or immediately after if there are still high winds or electrical hazards such as downed power lines. Wait until it’s safe to step outside, and always avoid walking on a wet roof as it can be extremely slippery.
2. Assess the Damage
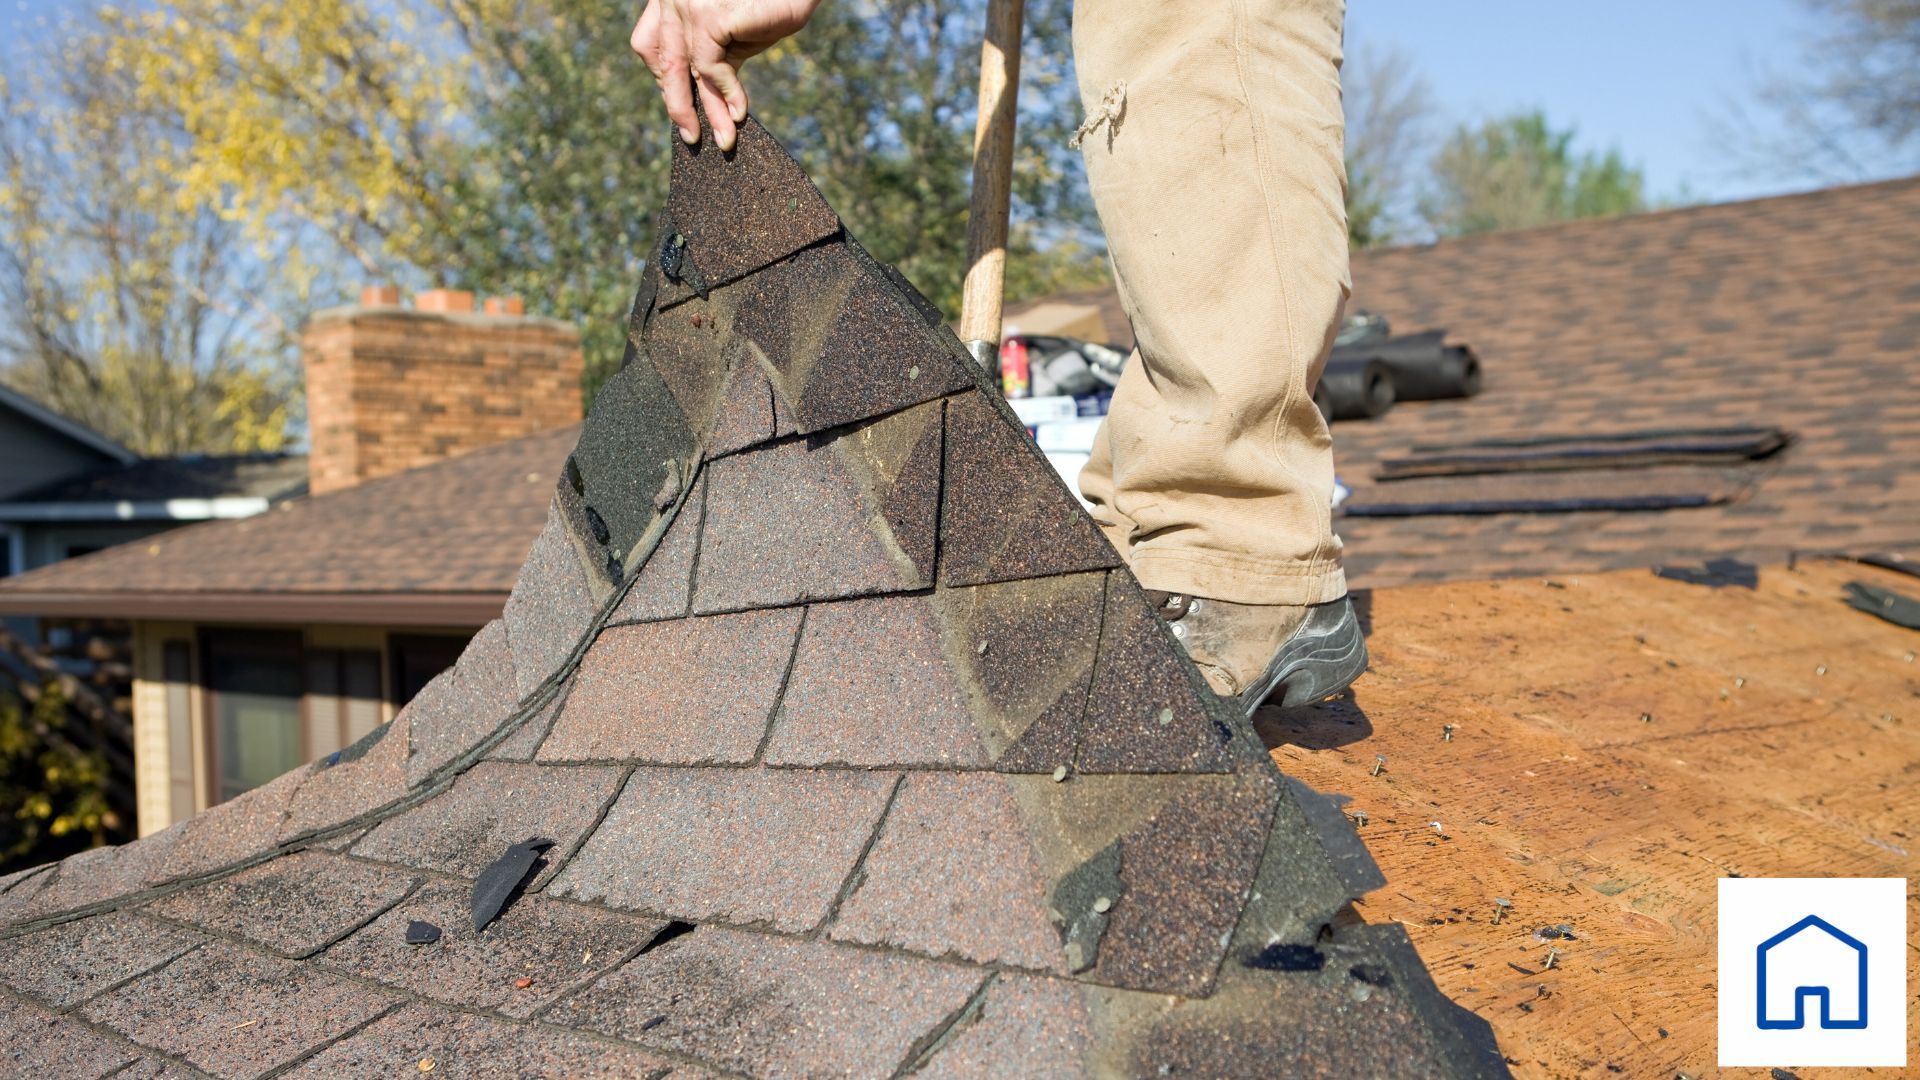
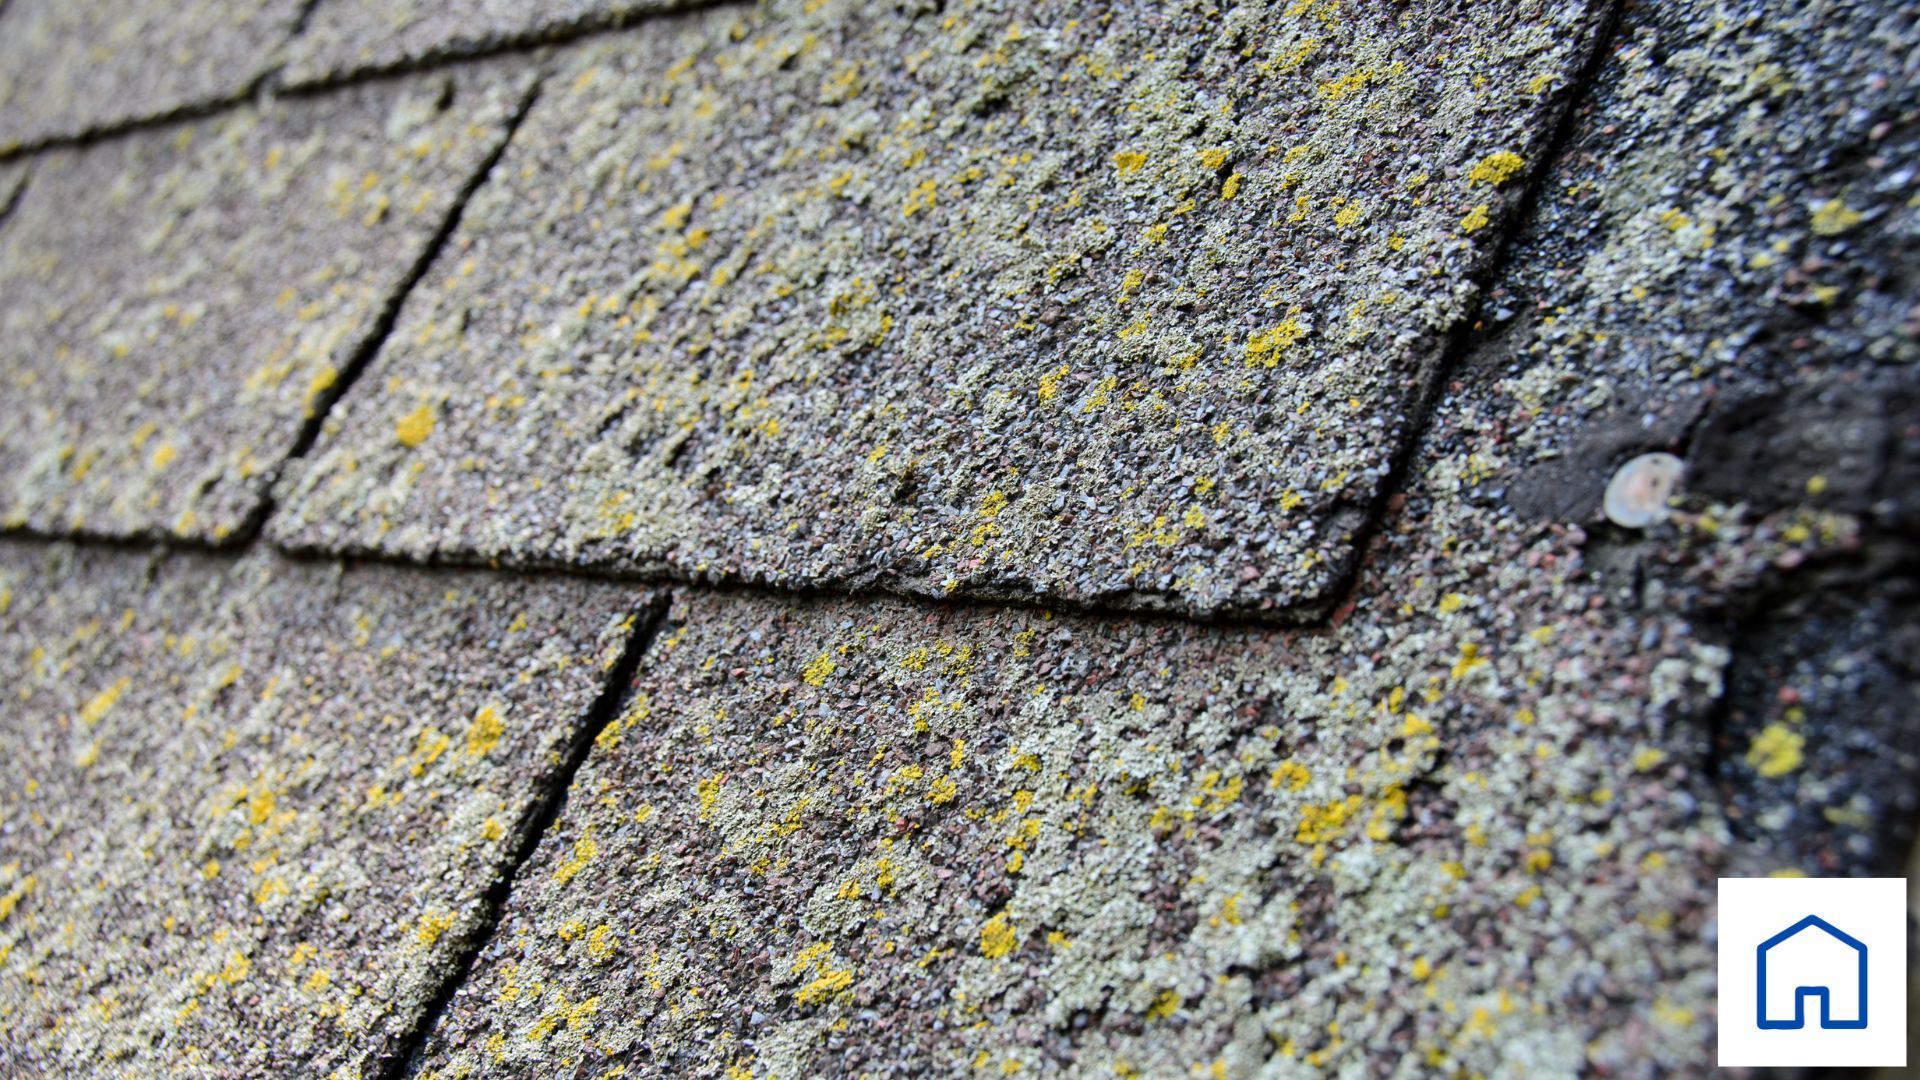
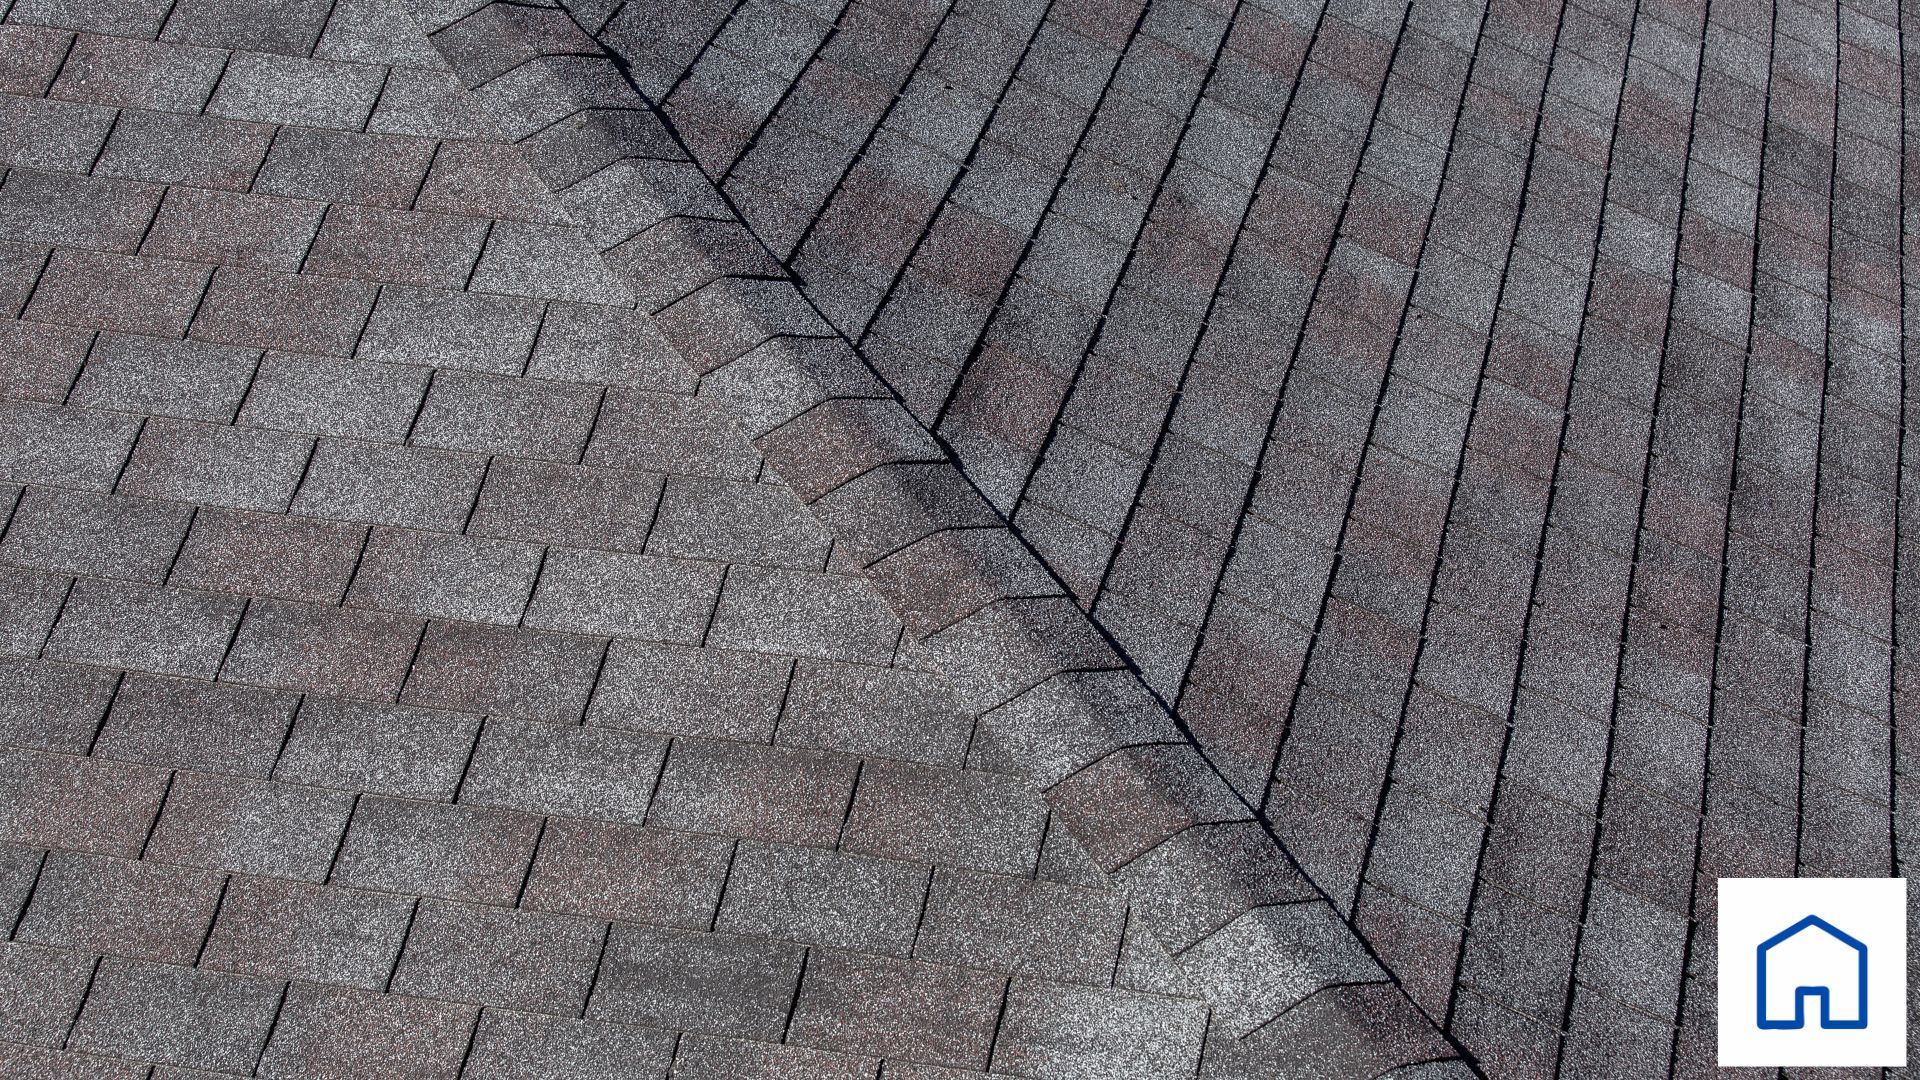
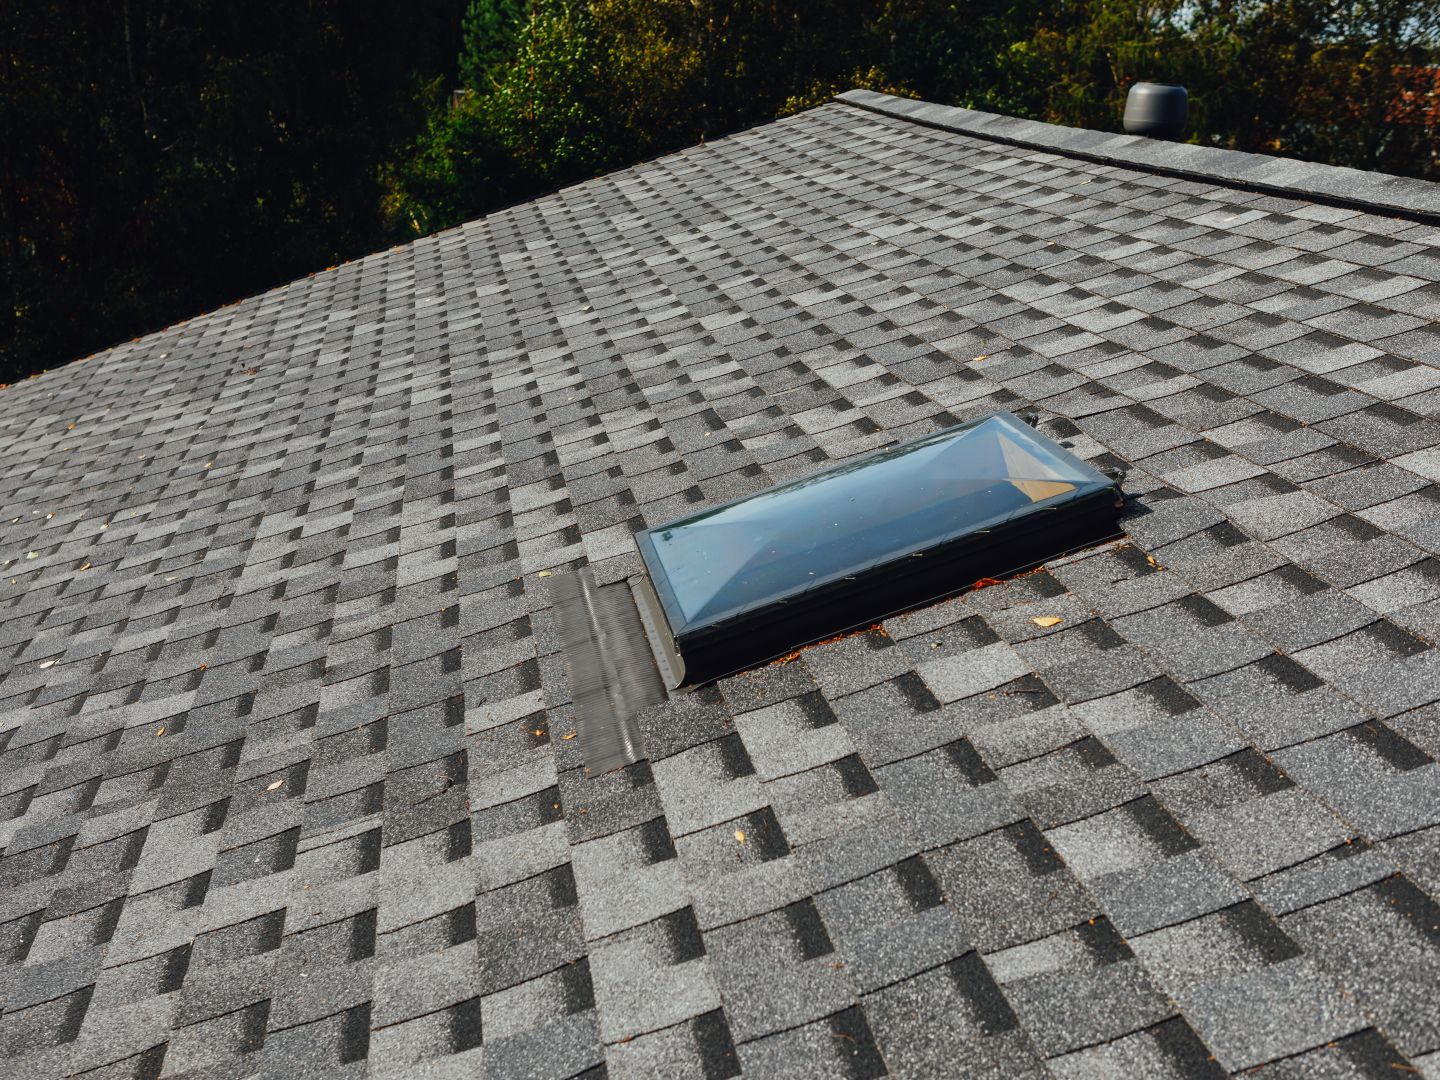
Once it’s safe, visually inspect your roof for signs of damage from the ground using binoculars if necessary. Look for missing, damaged, or torn shingles. Check for visible structural damage such as a sagging roof or a collapsed section. Be on the lookout for loose or peeling flashing around chimneys, vents, and ridges. Don’t forget to inspect your property for fallen debris that may have caused damage.
3. Document the Damage
Take clear photos and videos of the damage from various angles and distances to document the state of your roof before you start cleaning up or making temporary repairs. These images are crucial for insurance claims and for contractors to assess the scope of the work needed.
4. Temporary Fixes to Minimize Water Damage
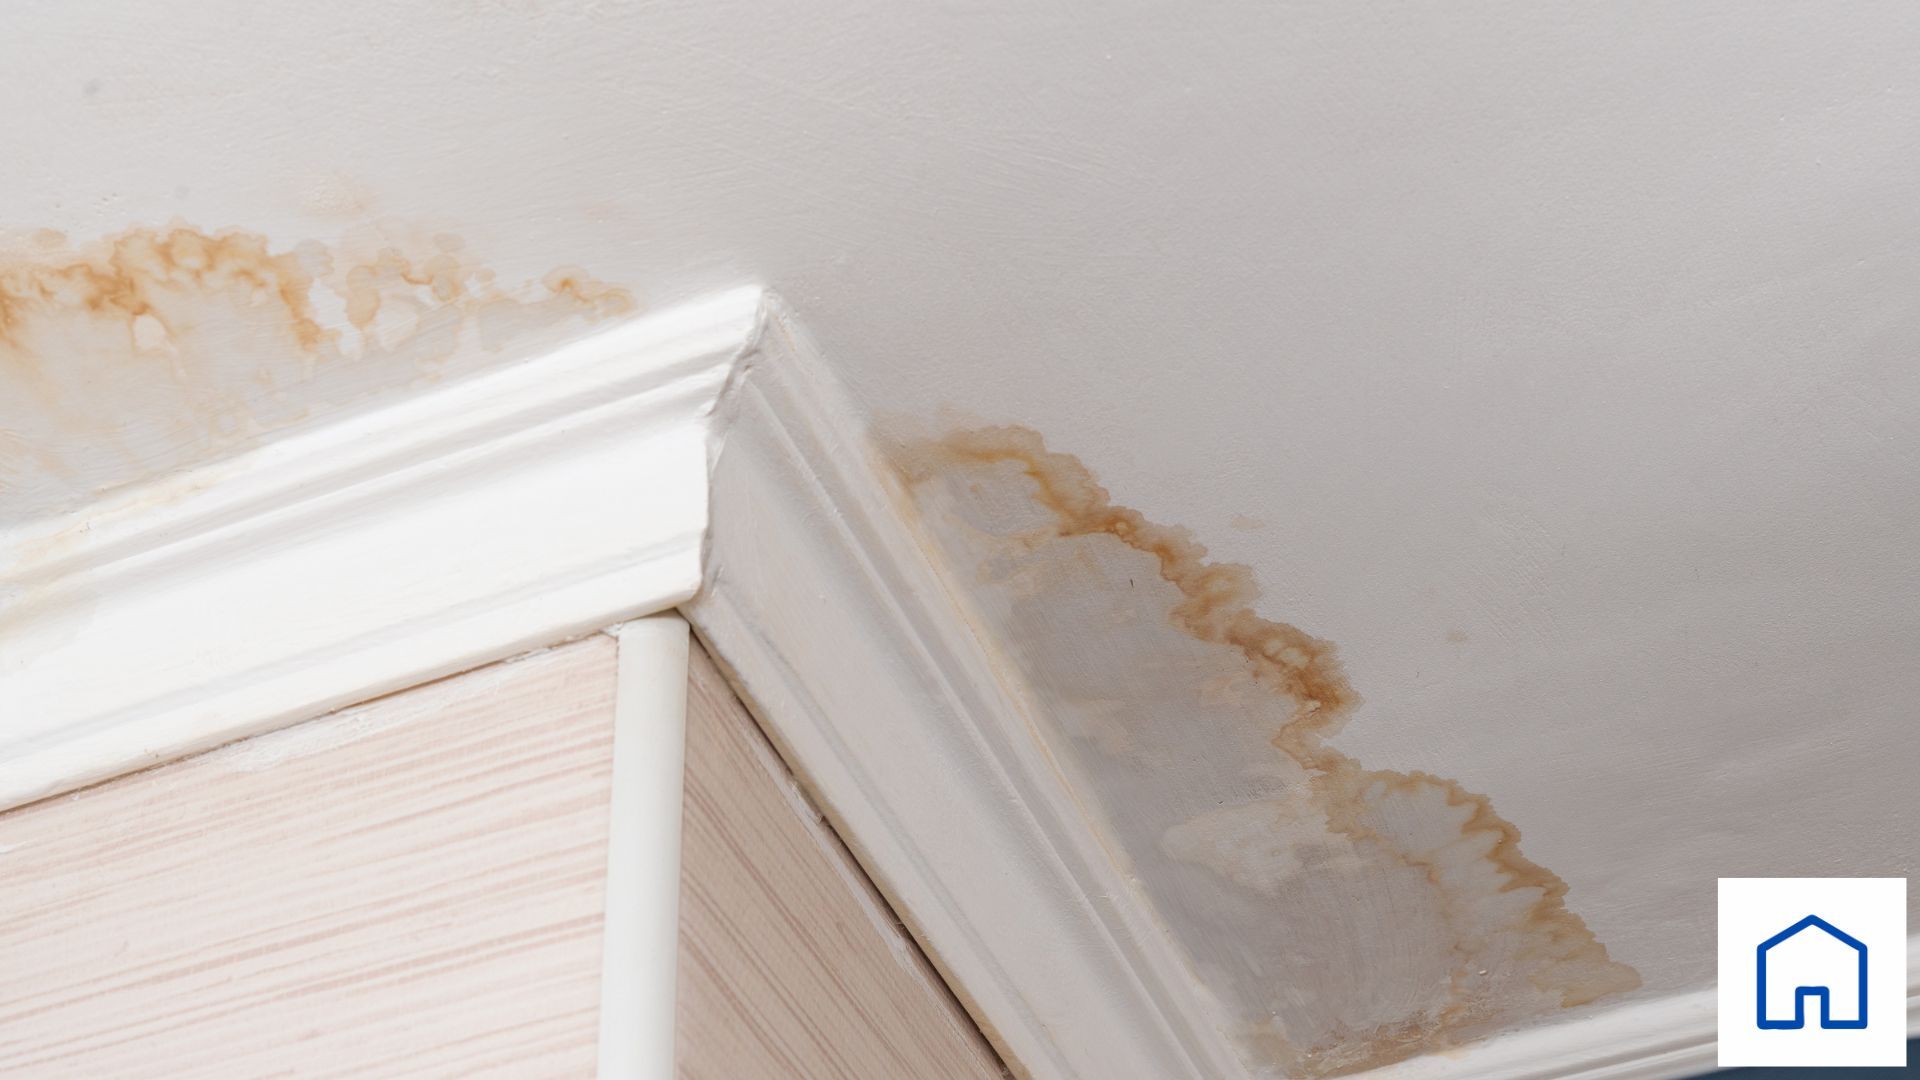
If the storm has resulted in leaks that are affecting the interior of your home, you’ll want to contain the water damage as much as possible:
- Place buckets or garbage cans under leaks to collect water.
- If water is pooling in a sagging section of your ceiling, you can puncture a small hole to let the water drain freely and prevent the ceiling from collapsing.
- Cover any exposed sections of your roof with a waterproof tarp. Secure the tarp with ropes or heavy objects at the corners and edges, ensuring it won’t catch wind and tear.
5. Clear Debris Safely
Remove any debris from your roof and gutters. This includes fallen branches, leaves, and other materials that could block water runoff. Blocked gutters can cause water to pool on your roof, leading to further damage. Always wear gloves and use appropriate tools; never attempt to remove heavy branches or debris without assistance.
6. Contact Your Insurance Company
Contact your homeowner’s insurance provider to report the damage. Provide your documentation and follow their guidance on the claims process. Many policies cover storm damage, so it’s essential to start this process early. Understanding what is covered under your policy will help manage expectations regarding the repairs and associated costs.
7. Hire Professional Roofers for Repairs
For significant damage, it’s crucial to hire professional roofing contractors. Look for local, reputable professionals like Best Nest Roofing & Renovations. Certified and experienced roofers can assess the damage thoroughly, make permanent repairs, and ensure your roof is up to standard to withstand future storms.
8. Review and Upgrade Your Roofing
Consider this an opportunity to review the overall resilience of your roof. If your roof was extensively damaged or is nearing the end of its life, discuss with your contractor the options for materials and designs that could enhance the durability and weather resistance of your new roof.
The aftermath of a storm can be a challenging time for any homeowner, but taking proactive steps can help mitigate the impact on your roof and home. Prioritizing safety, documenting damage for insurance claims, and opting for professional repairs are all critical. Remember, how you respond in the immediate aftermath can make a significant difference in the speed and success of your recovery efforts. Taking these steps ensures that your roof is restored properly and your home is back to being a safe haven